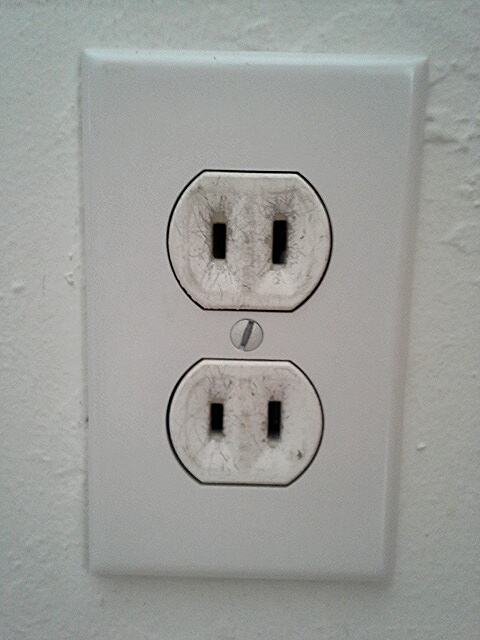
Older homes and rentals I come across still have these 2 Prong Outlets, but there is a money saving fix!
Instead of using a 2 Prong Adapter to 3 Prongs, you can have an easier and more permanent fix.

You know the hassle and inconvenience of using the 2 prong to 3 prong adapters. They stick out to far, they never stay plugged in, etc. Instead you can install a GFCI Outlet.

Many older homes and rentals have the old wiring that doesn’t have a 3rd wire/grounding wire, and or, the outlet box itself doesn’t have a ground. In either case this is the Simplest Cheapest Solution.
Or, you could go the Expensive Route and have your whole home rewired, or have a grounding wire ran for each circuit that runs directly back to the panel. Costing hundreds to thousands of dollars, depending on many factors.
Easy Route-
Step 1: Call Your Electrician. There are many How-to Tutorials online that will show you how to do this yourself. But in my experience, when it comes to homeowners fixing electrical issues themselves, only 5% are successful in doing it correctly and safely. Electricity is not to be messed with lightly.
Step 2: Buy Materials in Bulk to Save Money. If you have 2 Prong outlets throughout the whole house, count them all up. You will need as many GFCIs as you have rooms in most cases. So, if you have a 3 bedroom 2 bath house, you will need at least 5, plus 1 or 2 for the kitchen. The rest of the outlets get the standard 3 Prong Outlets.
Many Home Stores sell GFCI outlets in a 3 pack. Regular 3 Prong outlets are sold in 10 packs. Don’t forget to purchase the outlet covers also sold in 10 packs. The GFCIs however, will have a different cover that has a square opening. I recommend buying the covers made out of Nylon (unbreakable) They are more durable and last longer, especially in rentals.


Step 3: Turn Power OFF. The electrician will need to turn power off and find the first outlet in the series where power comes into the room at the first outlet. That outlet is where the GFCI will need to be installed on the Line Side screws on the back of the GFCI. The wires feeding out of that box, that goes to the remaining outlets in the room, get wired to the Load Side screws.
Step 4: Install all GFCIs and Standard 3 Prong Outlets. Remove all the 2 prong outlets and install the GFCIs and Standard Outlets, & Cover Plates. Use the labels that come in the GFCI boxes to label the outlets correctly. If a grounding wire or the box was grounded, then the Standard Outlet Covers get the label of GFCI Protected Outlet. If no grounding was found, Standard Outlet Covers need the label of No Equipment Ground.

Step 5: Turn Power ON. Turn ON the power, & check all outlets with electrical testers.
I have a lot of experience in electrical issues, and I have done this for many homes and rentals. This is a great way to save money to update your house or rental to 3 Prong outlets. It not only makes it easier to plug into the outlet, but it also makes your home Safer!
**Safety Tip: If you plug into Any outlet, (especially the older 2 prong outlets) and it feels loose or you can wiggle the plug around, Change Out The Outlet. This is a Fire Hazard!! For a few dollars to change out the loose outlet, you will save thousands of dollars when house burns down.
Click here for more information of GFCI Outlets.
